Find Your Way Around the Editor
Estimated reading time: 5 minutes
Before you place a single part, it helps to know how to move around and how the editor "thinks." Five minutes here saves a lot of fumbling later. This tour covers the canvas, the grid, units, layers, and the basic select/move/rotate actions you'll use constantly. Open the web app and follow along.
Everything here is reversible with Undo. Click around freely — exploring is the fastest way to learn the tools.
The canvas
The canvas is the large grid area where your board lives. You design directly on it, and what you see matches what gets manufactured (WYSIWYG — "what you see is what you get").
- Pan (move around): drag with the middle mouse button or a two-finger drag on a trackpad/touch device.
- Zoom: scroll the mouse wheel, or pinch on touch. Zoom toward where your cursor is.
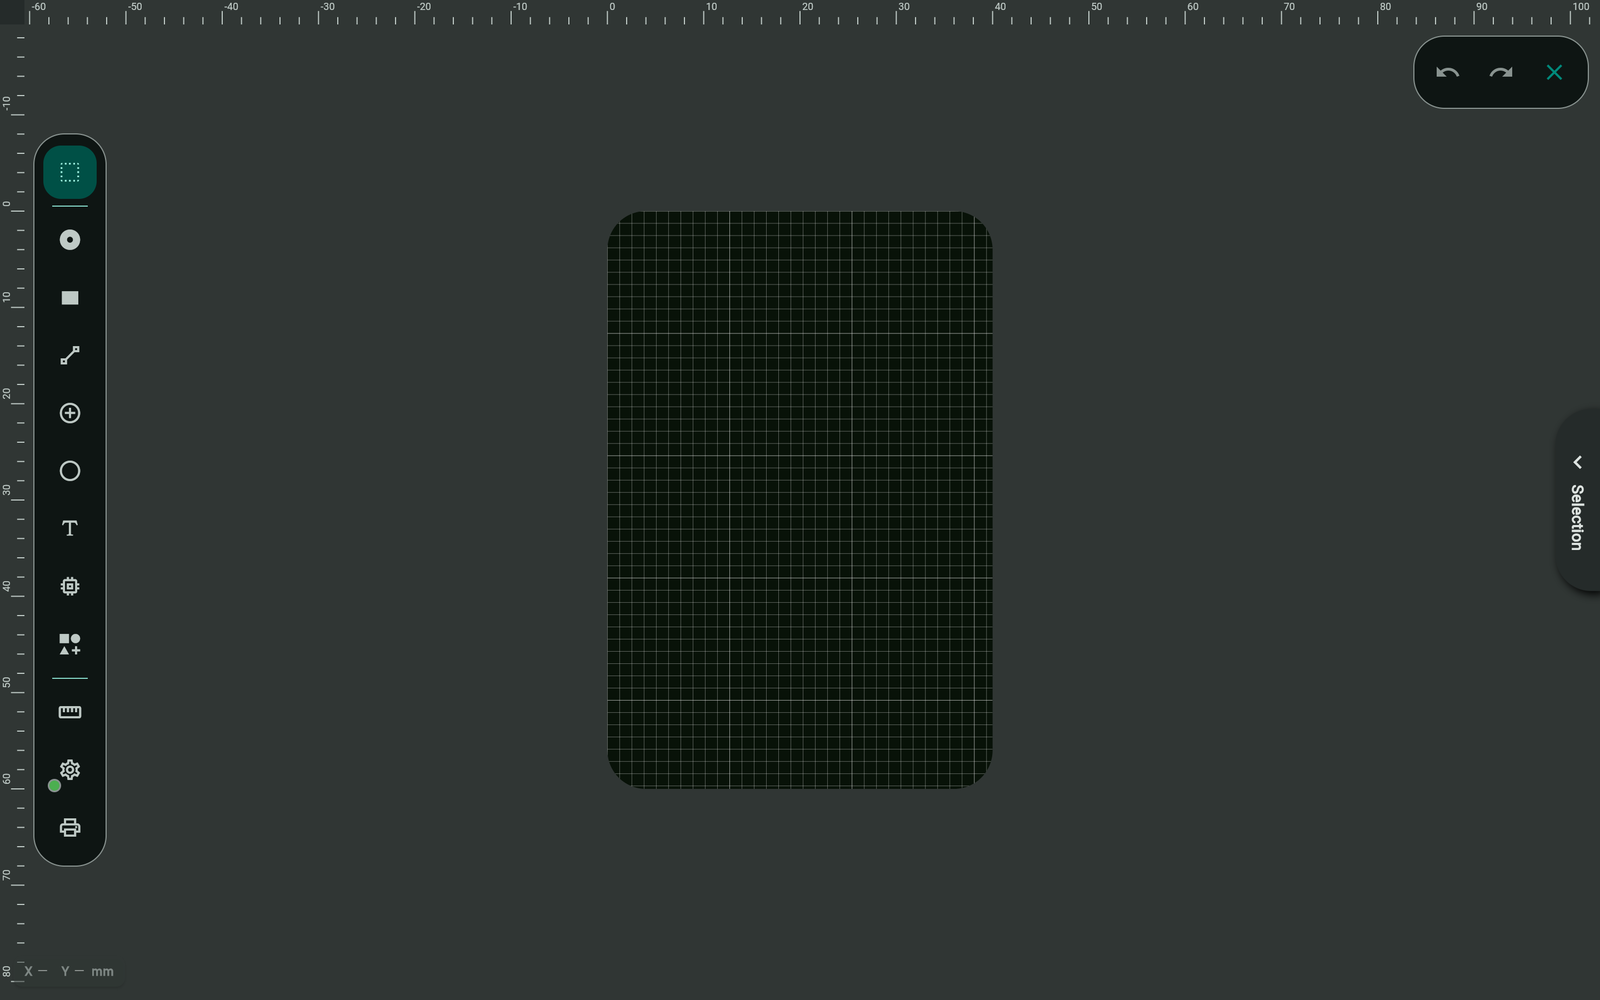
- Fit to view: double-tap the Selection tool (the top button on the left toolbar) to zoom the whole board back into view. This is the fastest way out when you've zoomed in, lost track of where you are, and can't find your way back to the board.
The grid and snapping
The dotted grid is your alignment helper. As you place and move things, they snap to grid points so pads line up neatly and traces stay tidy.
- A common grid for through-hole work is 2.54 mm (0.1 inch) — the classic pin spacing.
- For surface-mount parts you'll often want a finer grid.
- Open the Board Settings tool (left toolbar) → Grid Settings and change the Grid Size.
If an imported footprint's pads don't land on your grid, set the grid to the footprint's native pitch (often 2.54 mm for THT, 0.5 mm for SMD). Mismatched grids are a top cause of "my pads look slightly off."
Units: mm or mil
Protoboard Designer works in millimetres (mm) or mils (thousandths of an inch; 1 mm ≈ 39.4 mil). Switch between them in Board Settings → Unit System.
- mm is the friendlier default and matches KiCad footprints.
- mil shows up a lot in older datasheets and US-style parts.
Pick one and stay consistent while you're learning — mixing them is a recipe for sizing mistakes.
Layers
A PCB has several layers, and you draw on one at a time. The active layer is the one new copper/silk goes onto. Open the Layer Selector (the layers icon) to:
- See which layers exist (Copper Top/Bottom, Silkscreen, Soldermask, Drilling, Milling…).
- Choose the active layer before drawing.
- Toggle each layer's visibility, or use Show All / Hide All, to reduce clutter while you work.
Drawing a trace on the wrong layer is an easy slip. Glance at the active-layer indicator before you start a trace.
Selecting things — three modes
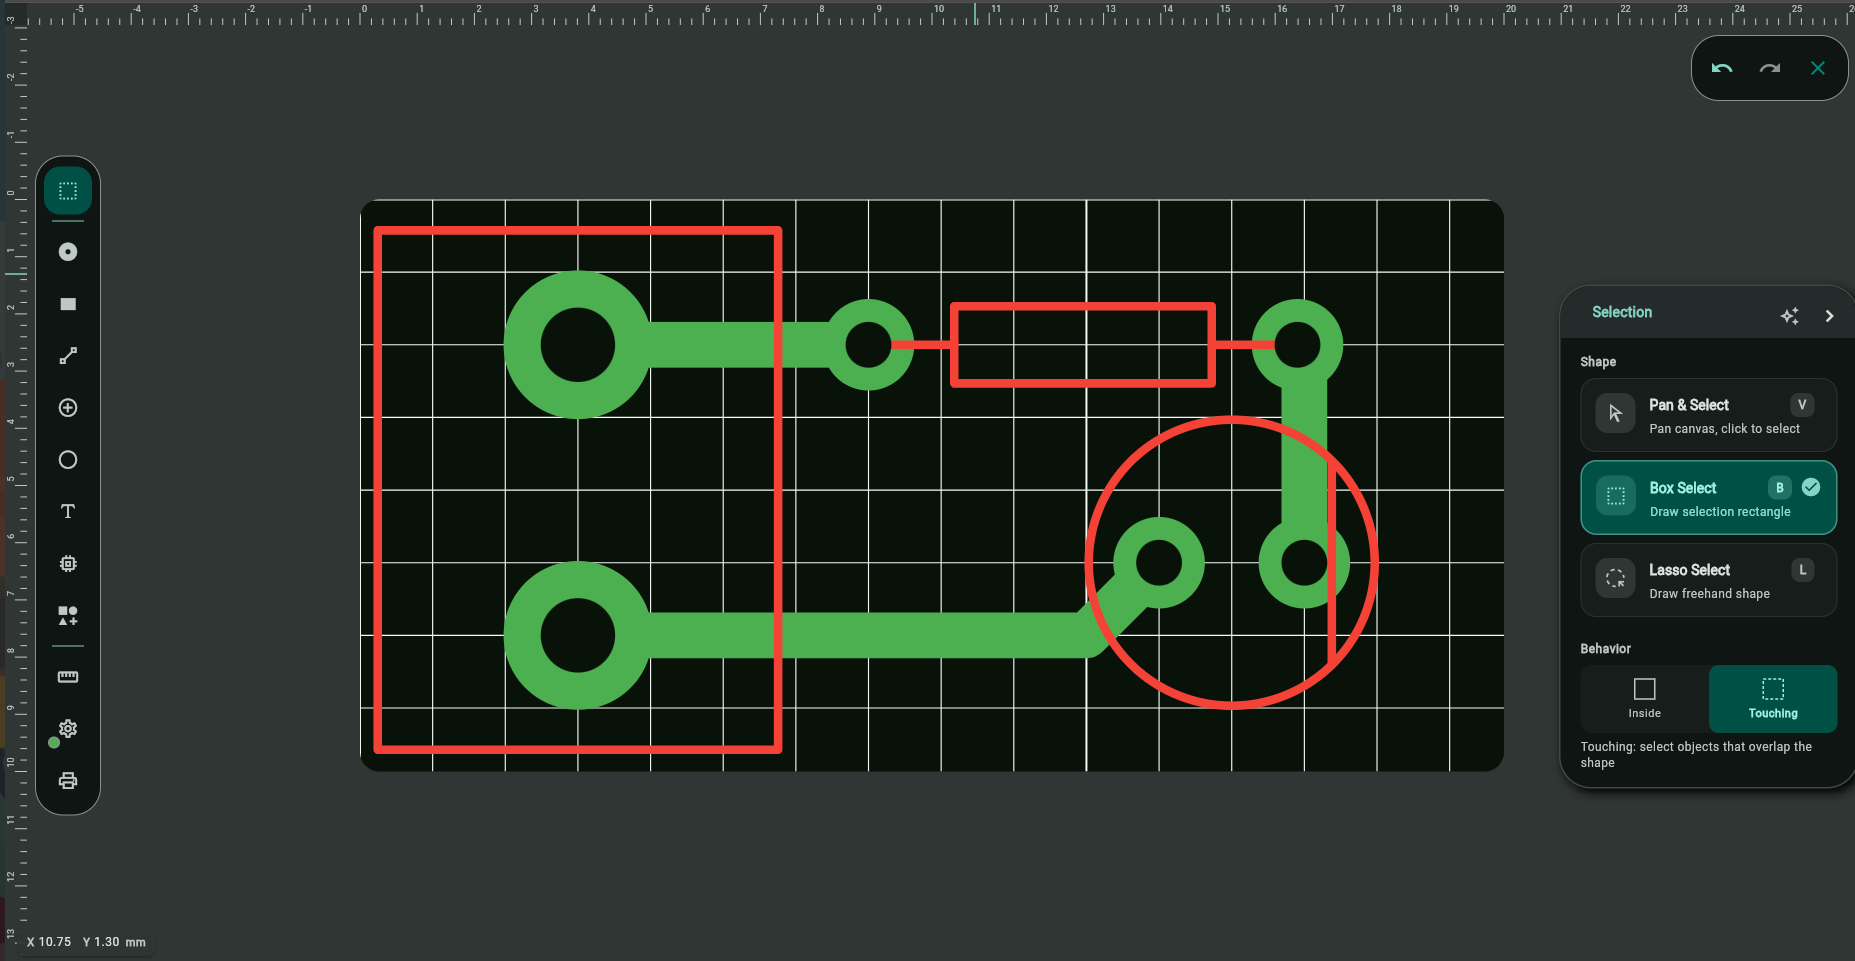
The Selection tool is the top button on the left toolbar. It has three selection shapes, and each shines in a different situation. Tap the Selection button to cycle the shape (its icon changes to show the current one):
- Pan & Select — tap an element to select it; drag empty space to pan the canvas. This is the default on phones and tablets, because it never gets in the way of moving around with one finger.
- Box Select — drag a rectangle to grab everything in it. The default on desktop, and the quickest way to scoop up a block of parts.
- Lasso Select — drag a freehand outline around exactly the elements you want, useful when a rectangle would also catch things you don't want.
Inside vs. touching
For both Box and Lasso there are two behaviours, and the difference matters:
- Inside — only elements fully enclosed by your box/lasso are selected. Great for picking a tight cluster without grabbing the traces leaving it.
- Touching (crossing) — anything your box/lasso even partially overlaps is selected. Great for grabbing a whole net including every trace it crosses.
Replace vs. toggle (Pan & Select)
With Pan & Select, a plain tap can work two ways:
- Replace — tapping an element selects only it and clears whatever was selected before. The normal "pick one thing" behaviour.
- Toggle — tapping adds the element to the selection, and tapping it again removes it. Perfect on touch screens for building up a multi-element selection without a modifier key. (On desktop, hold Ctrl/Cmd and click to toggle.)
Moving and rotating
-
Move — drag a selected element to reposition it. It snaps to the grid.
-
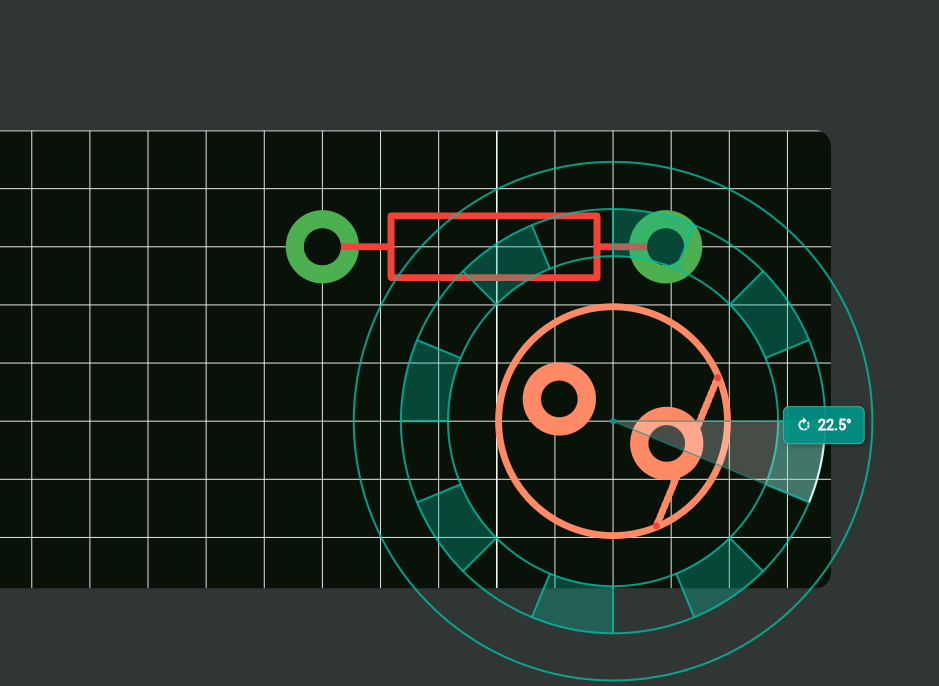
Rotate — select an element (or several) and a rotation handle appears next to the selection. Drag that handle to spin the selection around its centre. Rotation snaps as you drag, and the snap step depends on how far from the centre your pointer is:
- Close to the centre → coarse 22.5° steps, for quick quarter/eighth turns.
- Further out → fine 1° steps, for precise angles.
You'll feel a detent (a tick) each time it snaps, with a stronger tick on the coarse 22.5° stops. For exact 90° turns you can also use the Rotate 90° / -90° buttons.
Undo reverses your last action; Redo puts it back. Use them liberally.
The Track tool: tracks, polygons, and clearance
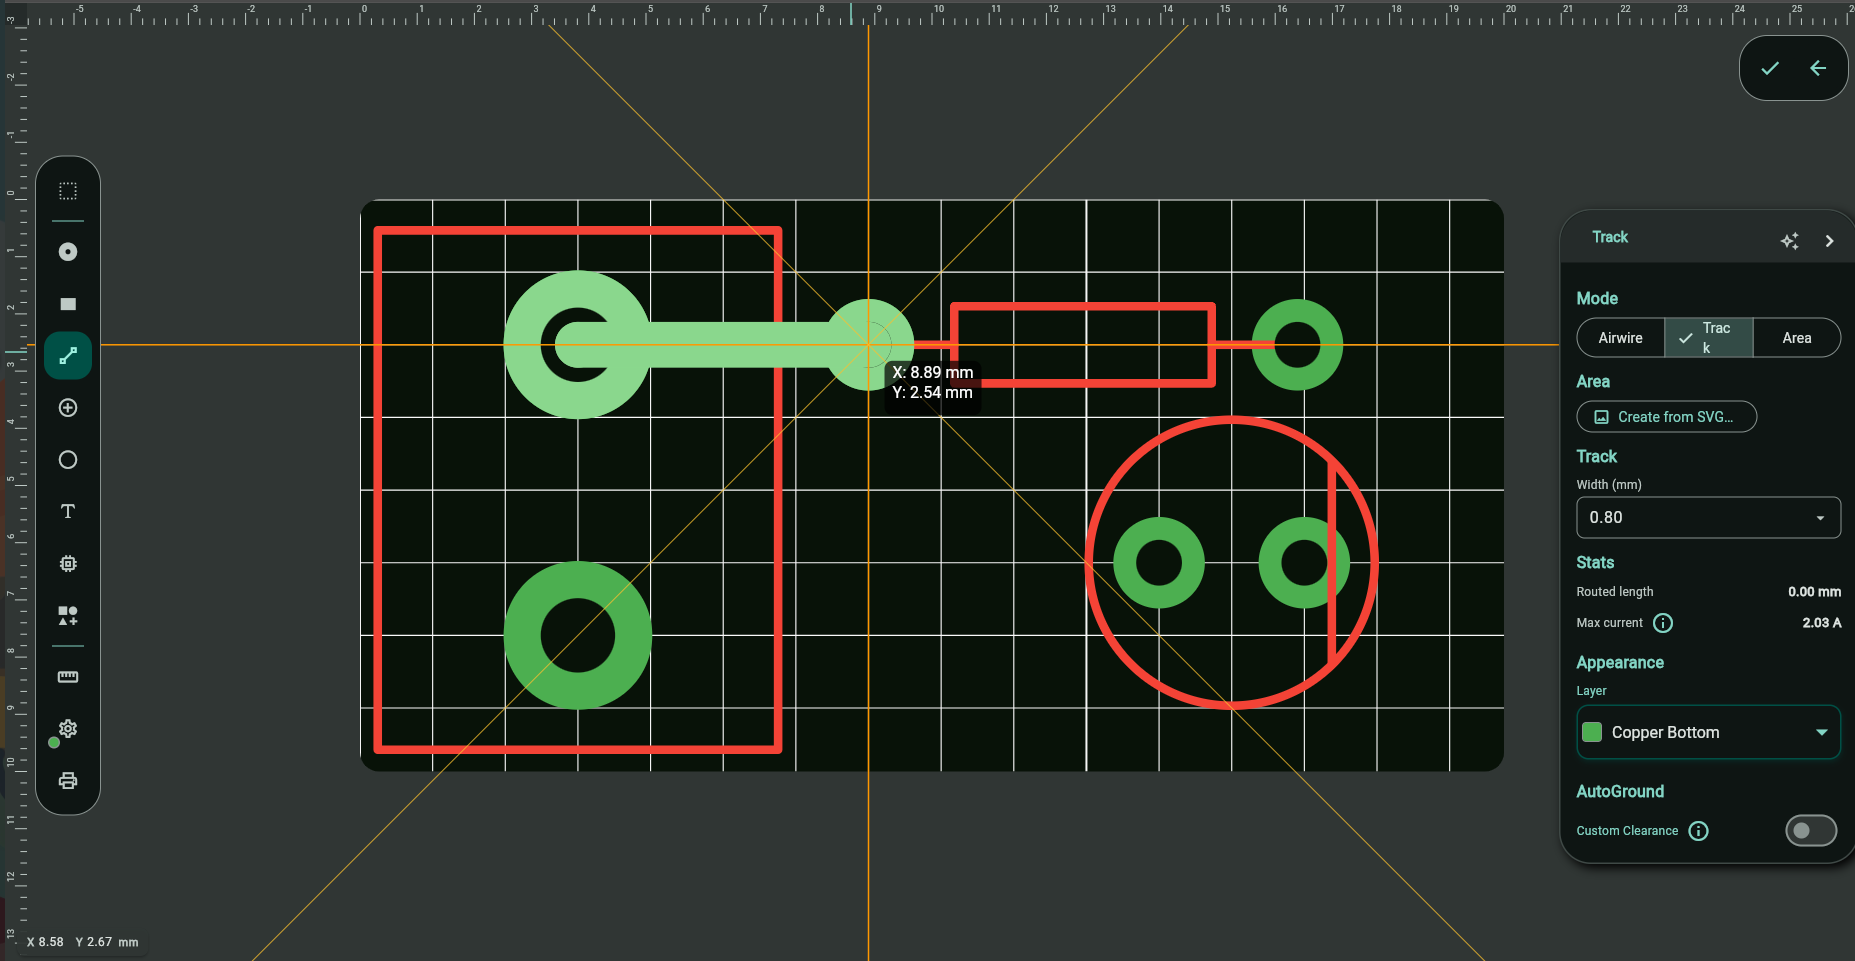
The Track tool (left toolbar) does more than draw straight traces:
- Track — the default: click pad to pad to lay copper, with intermediate clicks to steer.
- Polygon — switch the tool to polygon mode to draw a filled copper area (a manual ground/power pour). Click each corner, then close the shape.
- Airwire — switch to airwire mode to declare a connection without copper (see Connect Components).
Open the Track tool's property panel to set the track width and the clearance (the minimum gap kept from other copper). Setting clearance here, before you route, saves cleanup later — it's the same number the Design Rule Check measures against.
Text labels
The Label tool places text on silkscreen or copper. Two options make repetitive labelling painless:
- Auto-numbering — place
R1, and the next label is pre-filled asR2, thenR3… so you can stamp a row of references without retyping. - Mirroring — flip a label horizontally and/or vertically. Essential for text that belongs on the bottom of the board, so it reads correctly from that side instead of appearing backwards.
Saving and sync
When you're signed in, your work syncs to the cloud automatically, and the same project opens on the web and the Android app. There's no in-editor sync indicator yet — the reliable way to confirm a board synced is to open it on another device and check it's there. See Projects, Cloud Sync & Backups for the full picture.