How to Export a PDF in Protoboard Designer
Estimated reading time: 7 minutes
Gerbers are for the factory — but a PDF is what you print at home. Protoboard Designer's PDF export is built for DIY board making: toner-transfer artwork, UV photoresist masks, and tidy paper documentation of your design. It can mirror, invert, tile across several pages, add alignment marks, and print at an exact 1:1 scale. This guide walks through every option and the presets that set them for you.
If you just want a good result fast, pick a preset (below) — it sets the mirror, invert, outline, and layer options correctly for that workflow. Tweak from there only if you need to.
Open the PDF exporter
- Open the Export tool (printer icon) on the left toolbar.
- Choose PDF export.
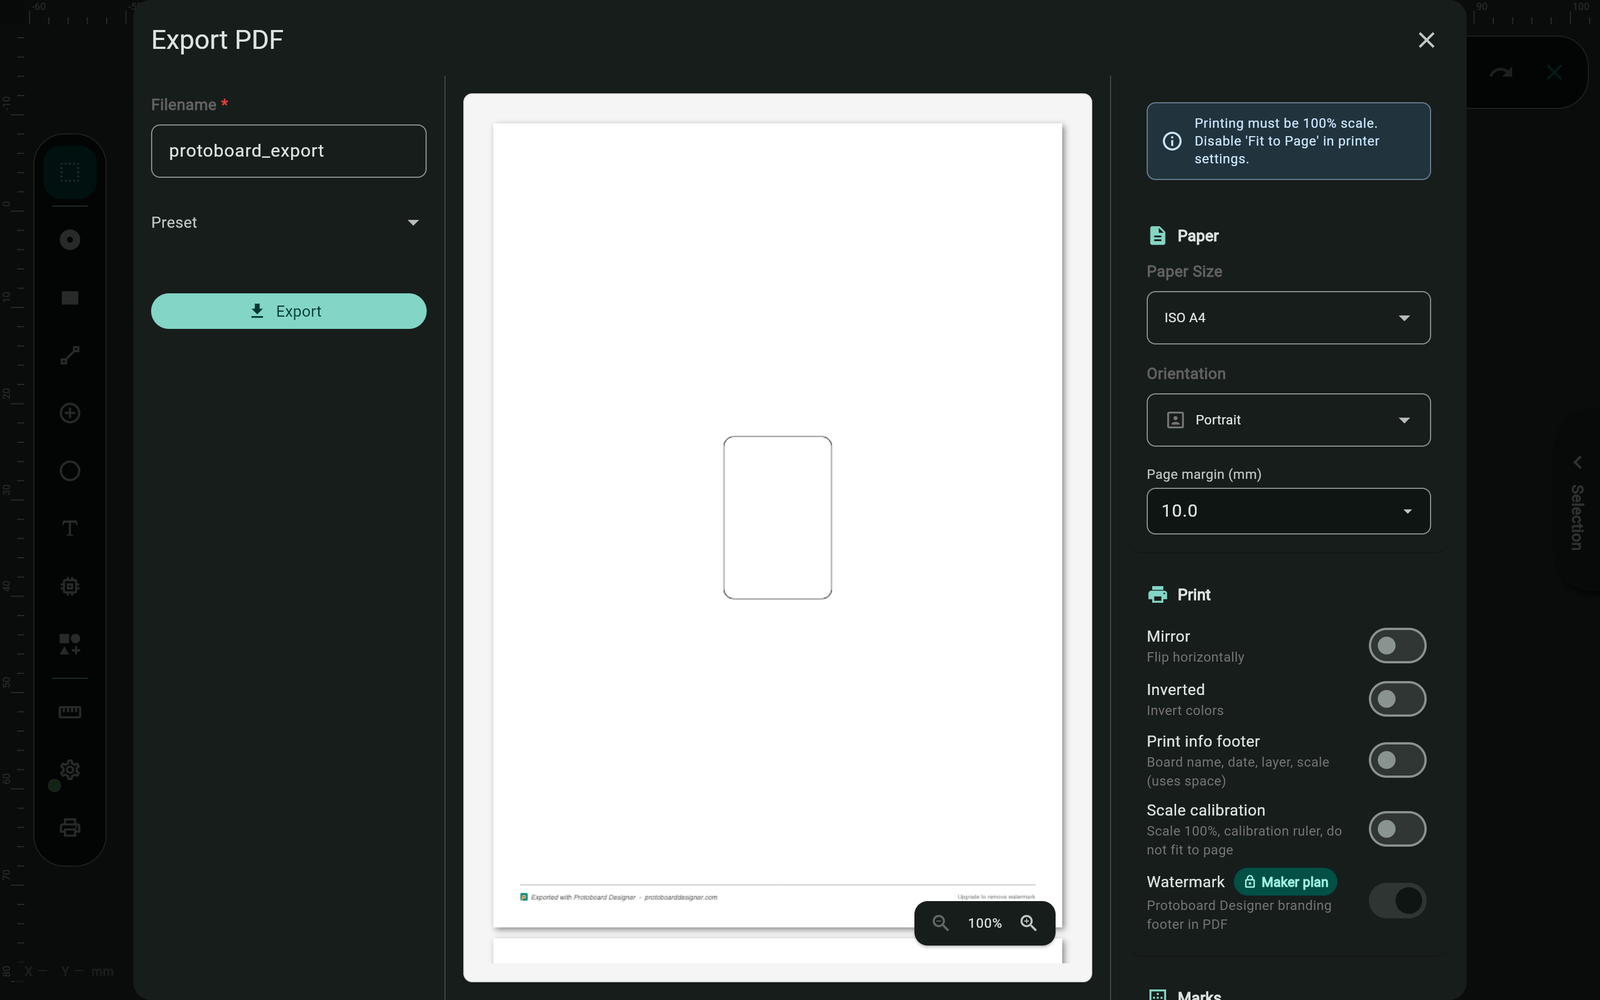
- Pick a preset (or configure the options yourself), check the live preview, then export.
Presets
Presets are the quickest path to a correct print. Each one selects the right layers and flips the right switches:
| Preset | What it's for | What it sets |
|---|---|---|
| Toner Transfer (Top) | Iron-on toner transfer for the top copper | Top copper only, not mirrored, board outline + cutting marks |
| Toner Transfer (Bottom) | Iron-on toner transfer for the bottom copper | Bottom copper only, mirrored, board outline + cutting marks |
| UV Exposure Mask | Photoresist / dry-film exposure mask | Soldermask layer, inverted, board outline |
| Fabrication Package | A paper record of every layer | All copper, silkscreen, soldermask + drilling, with outline and cutting marks |
When you transfer artwork onto the bottom copper, the toner faces down onto the board, so the image must be mirrored to come out the right way round. Top-side artwork faces up and needs no mirror. The presets handle this for you — it's the #1 thing people get wrong by hand.
The options, explained
You can set any of these yourself, with or without a preset.
Layers
Tick the layers to include. The PDF stacks them in the same order the board does, using each layer's editor colour. For a single-sided toner transfer, choose just one copper layer; for documentation, include several.
Mirror
Flips the whole print horizontally. Use it for any artwork that will face down onto the board (bottom-side toner transfer). Leave it off for top-side work.
Invert
Swaps copper and background — copper becomes clear, the surround becomes solid (or vice-versa). This is what a UV exposure mask needs so light only reaches where you want resist removed.
Board outline
Draws the board edge (from your Milling outline) on the print, so you can see and cut to the real board boundary. On by default.
Cutting marks
Adds corner marks at the board's bounding box, giving you a clean line to trim the printed sheet to size.
Registration marks (double-sided alignment)
For a two-sided board, the top and bottom prints have to line up perfectly. Enable registration marks to add 2–4 crosshair targets outside the board on every page. Print both sides, align the crosshairs, and your layers register.
- Registration tool holes — optionally adds small 3 mm holes at the marks so you can pin the sheets (and the board) together for hands-free alignment.
Scale lock (1:1) and calibration ruler
By default the artwork is scaled to fit the page. For board making that's wrong — every dimension must print at exactly 100%, or your pads won't land on your parts.
Turn on scale lock to force Scale = 100% (no fit-to-page) and print a calibration ruler on the sheet. After printing, measure the ruler with a real ruler; if it reads true, your printer isn't rescaling and the board will be the right size.
Printer drivers love to "shrink to fit." Use scale lock, print, and measure the calibration ruler before you commit a board. A 2% scaling error is invisible on screen and fatal on a fine-pitch footprint.
Mosaic (tiled printing)
Bigger than your paper? Mosaic tiles the design across several pages you tape together. Set the number of columns and rows and the spacing between tiles. Combine with scale lock so the tiled result is still exactly 1:1.
Info footer
Adds a small footer with the board name, date, layer name(s), and scale. Great for the fabrication package; turn it off to save space on a transfer sheet.
Paper size & orientation
Choose from a wide range of ISO (A/B/C), US, and JIS paper sizes, in portrait or landscape. Match it to whatever you're printing on.
Soldermask offsets
When a soldermask layer is exported, these control how far the mask opening extends past each pad: separate offsets for through-hole pads, SMD pads, and other features. The defaults suit most home processes; widen them slightly if your registration isn't perfect.
Recommended recipes
- Toner-transfer a single-sided board → preset Toner Transfer (Top/Bottom) → enable scale lock → print, measure the ruler, iron on.
- Double-sided toner transfer → run both top and bottom presets → enable registration marks (+ tool holes) → print both, pin together, transfer.
- UV / photoresist → preset UV Exposure Mask → enable scale lock → print on transparency film.
- Keep a paper record → preset Fabrication Package → enable info footer.